IP Restriction:
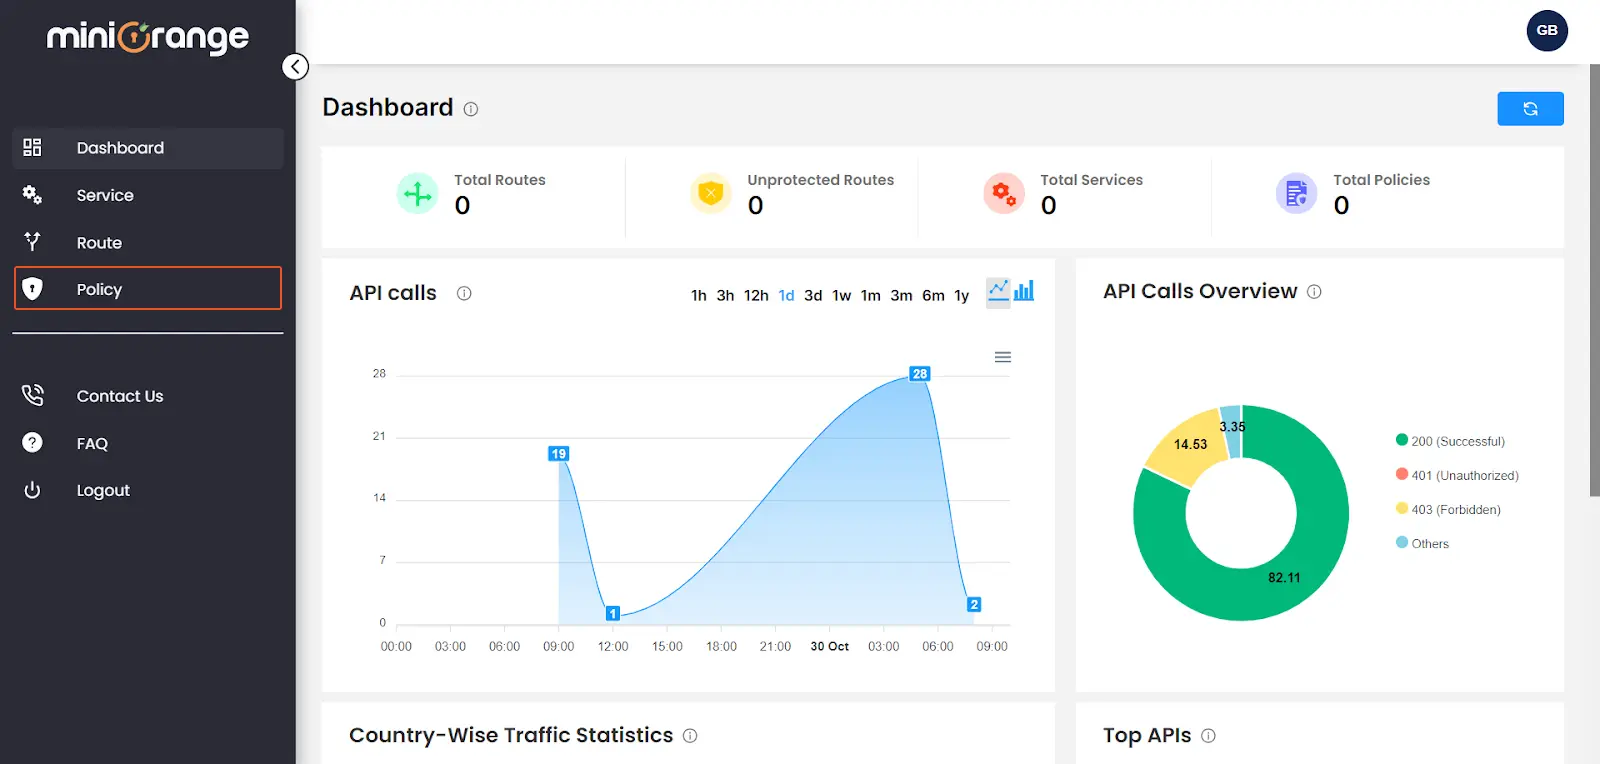
- In order to configure policies, navigate to the “Policy” section.
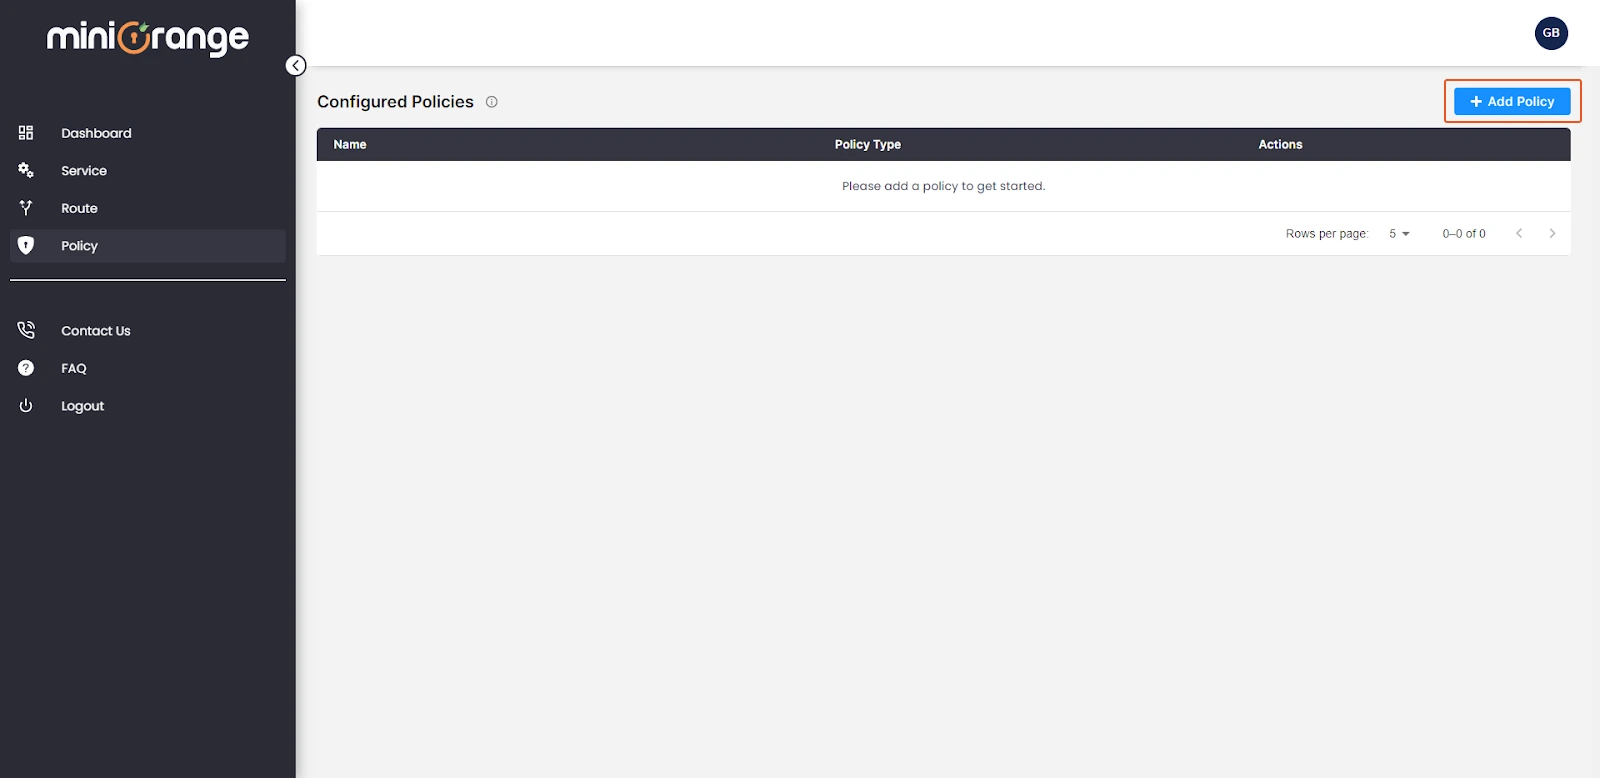
- click on the “Add Policy” button located at the top right.
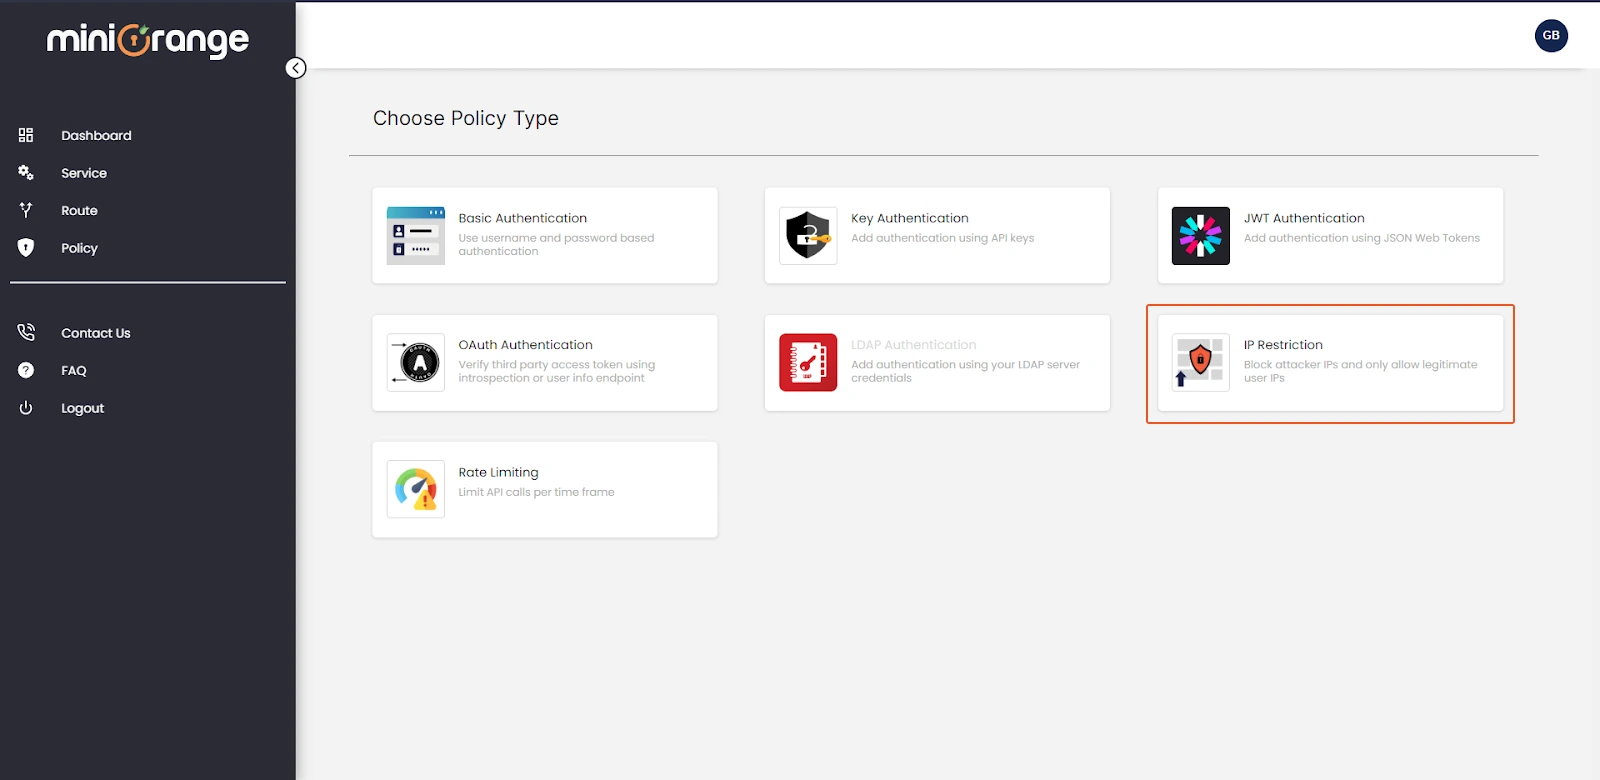
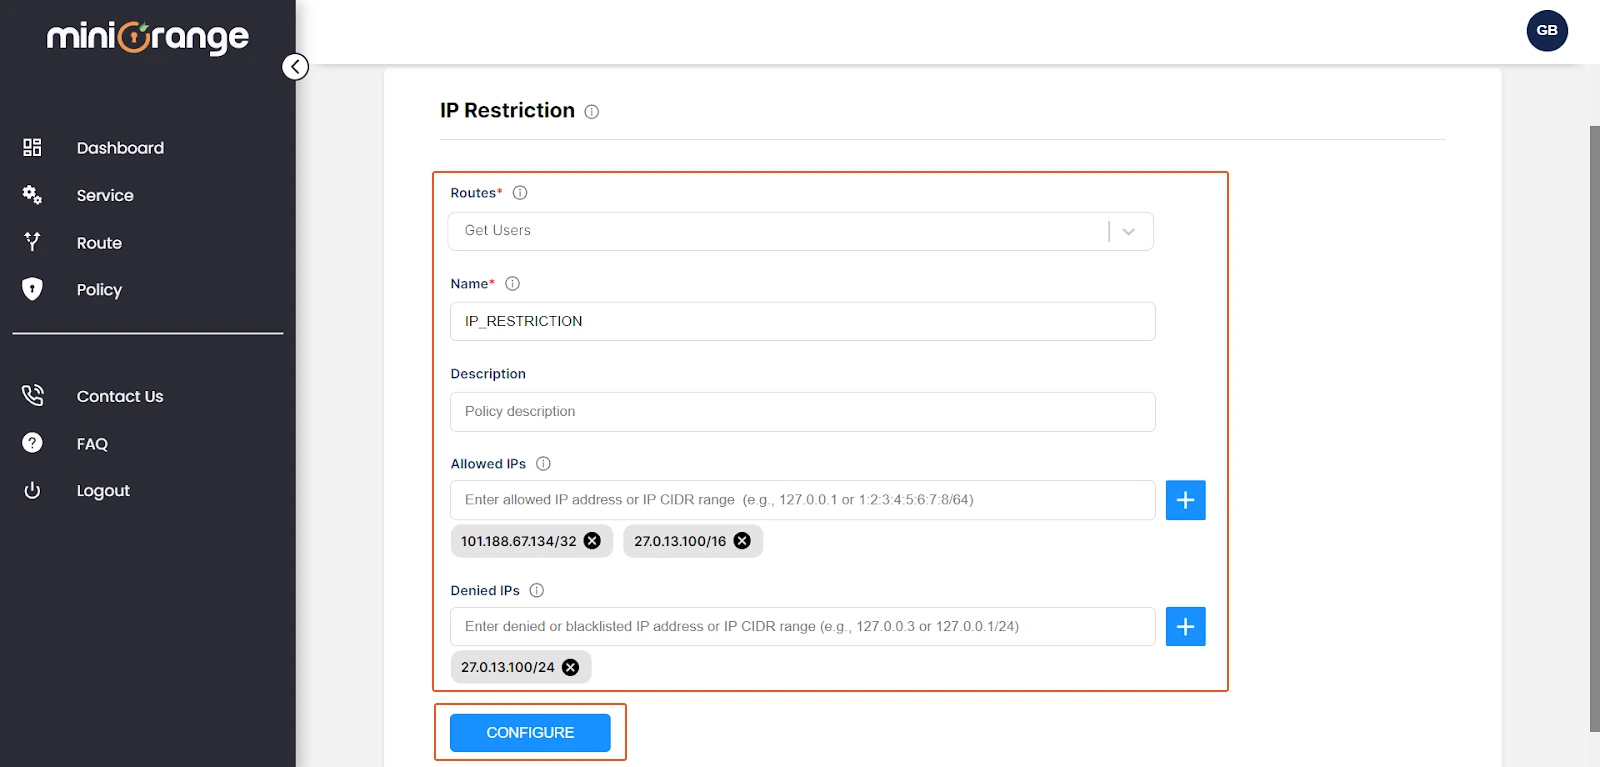
- To configure the IP restriction feature, select the “IP Restriction” policy.
- Routes: Choose the route to which you wish to apply the "IP Restriction" policy.
- Name: Provide a valid and unique name for policy.
- Description: Provide information about the purpose of this policy.
- Allowed IPs: Enter the trusted IP addresses that are allowed access to the selected route. You must specify in CIDR format. This feature is commonly used to grant access to specific, trusted sources.
- Denied IPs: Specify the IPs that you want to restrict from accessing the route. Once again, use CIDR format to specify these addresses. This feature is useful for blocking or denying access to certain sources that may pose a security risk or for other policy reasons.
- Once done, click on “CONFIGURE” to create the policy. It will also attach the policy to the route.
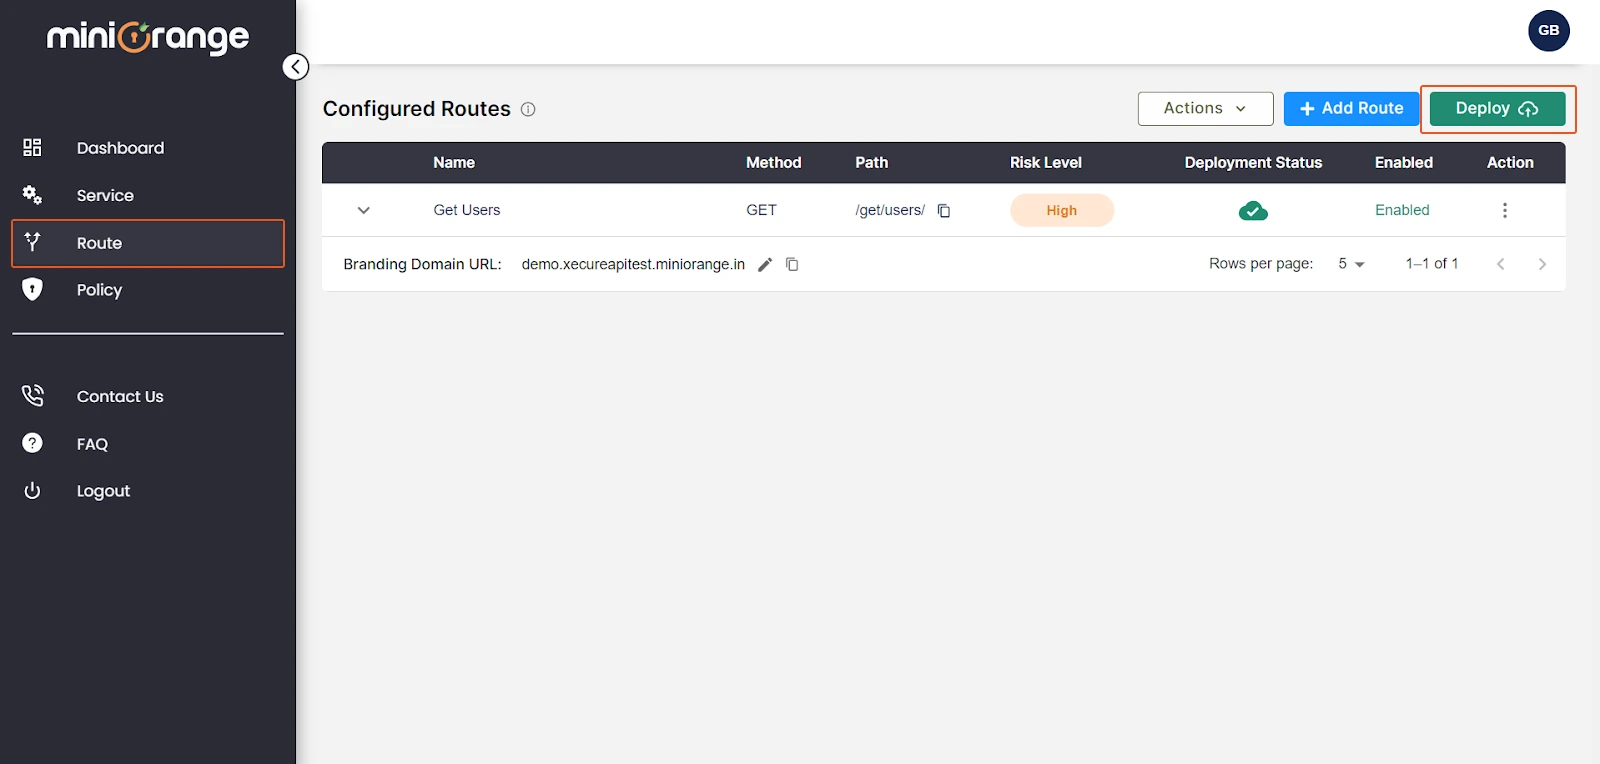
- After creating and attaching the policy to a route, Navigate to the “Route” section from the left-side of the panel.
- Click on the “Deploy” button to apply the latest configuration.
